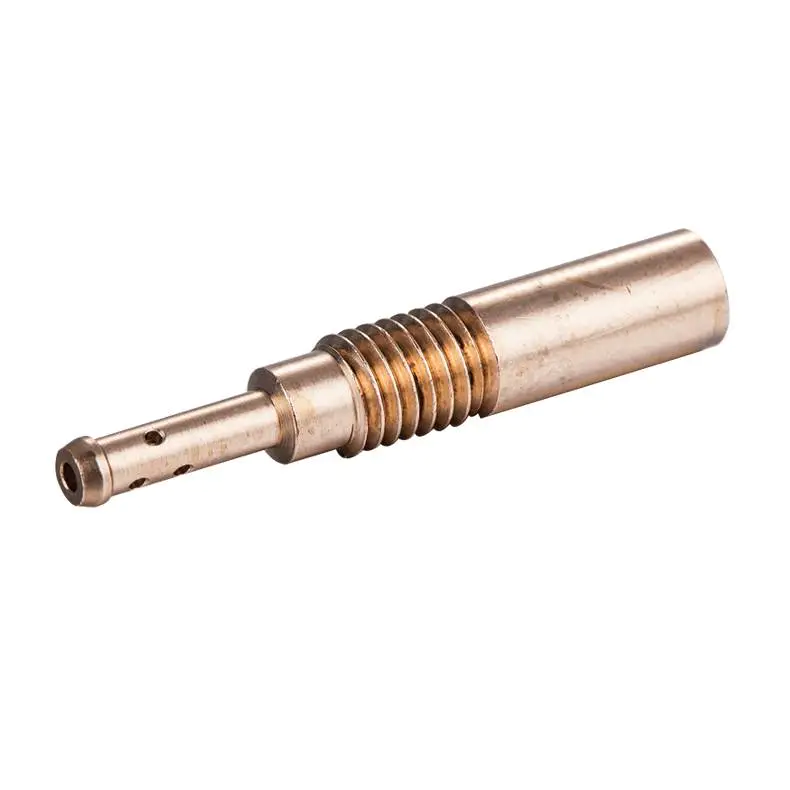
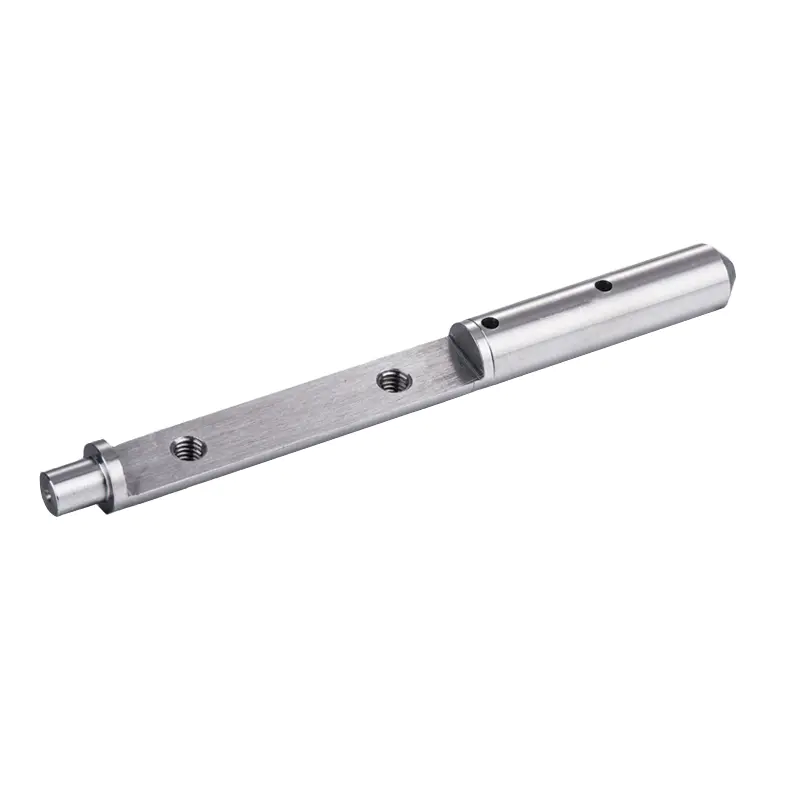
I went back to the machine shop in my workplace and in the trash can I found eight ball screw. The longest trip is about 23. I asked my boss. he asked me to take it. After some investigation, they have been sitting on the shelf for several years and they have just decided to throw them away. So I decided to make a CNC router with 4 of them. Anyway, except for the 4 \"aluminum channels and wood I purchased for Y- Shaft sliding installation, I built this thing with the material I already laid, without any plans. It was together when I went. ( I was surprised by the amount of aluminum barstock I had accumulated. Something I don\'t even know I have). The first step is to build a frame track of 4 \"aluminum channels. I installed two ball screw for this. To make the table top, I used 5/8 thick planks that are usually used for shelving. I cut them into the right width and then use 1/4-20 bolts. Therefore, it is easy to replace a board if it is damaged. I clip two pieces of aluminum barstock 3/8 thick x 4 wide together. Then I drilled out the mounting holes. In this way, I created an exact mirror image of the plate. Then I will install X-drill/knock-axis rail. See my progress, I thinkclamped the X-axis in place. Punch the mounting holes on the slider to the block later. Then drill/tap the block to install the guide rail permanently. Electronics can be started at any time, but I started working on electronics to change the speed. I purchased the largest junction box case I can get at Lowes. Unfortunately, something that looks big in the store is not as big as all the components I need to install. . . The box was deep so I made a two-story box. Please don\'t laugh at the pictures, I\'m not an electrician, but at least I tag the wires. . . Start with Z- Shaft sliding is first to make a plate to adapt to X Shaft slide to ZAxis frame. Please note that I added a few extra holes to the board. This allows to adjust Z-axis height. The reason is that unlike many CNC routers I see on the Internet, I deliberately keep the table and X- The shaft slides shallow, about 7 inch. There are three reasons: Once Z- With the shaft installed, I started an adapter board to install Z- Sliding shaft motor. The motor is too big for this slide so I will turn down the current to limit the motor. Based on Internet search, people have been successful using the Bosch Colt router in this app, so I took the same route. I need to make a collar for installing the router. I have Machine tools so I do it myself, but I know there are ebay sellers selling brackets for this particular router. There are many cables for this machine to run, such as motor, limit switch, motor power supply, etc. The best way to include moving cables is to run them by dragging the chain. I bought it from ebay sellers. Any project of this size and complexity will eventually involve something unpleasant. I don\'t like the soldering line, but it\'s just one of the things that has to be done. There are more than 110 welding connections in total. I don\'t talk too much detail here. But the software I use for the CNC controller comes from the GRBL project. You can get information from their website and how to connect electronic components. For the G- Code sender, I used the software in the bCNC project. It\'s powerful, but any G- A code sender compatible with GRBL will work. This video at the beginning of the structure is one of the early tests. This video shows a gear system made with a router to understand its capabilities. For the sense of scale, the diameter of the ring is 18 inch. FYI: the steam engine is a 1/4 hp engine running in compressed air. This machine is for Faire season, the 2017 manufacturer. At faires, it will run in the field steam.